
Our overlays are web pages, so you add one to your stream as a browser source — you paste in a URL and the size to render it at, and it updates itself from then on.
The steps below are for OBS. Other streaming software works the same way, though the menus are named slightly differently.
Before you start
Add your Apex account to your channel in the dashboard first — overlays read their stats from it. If it won't come up in the search, see Can't find your Apex Legends account.
1. Pick your overlay in the dashboard
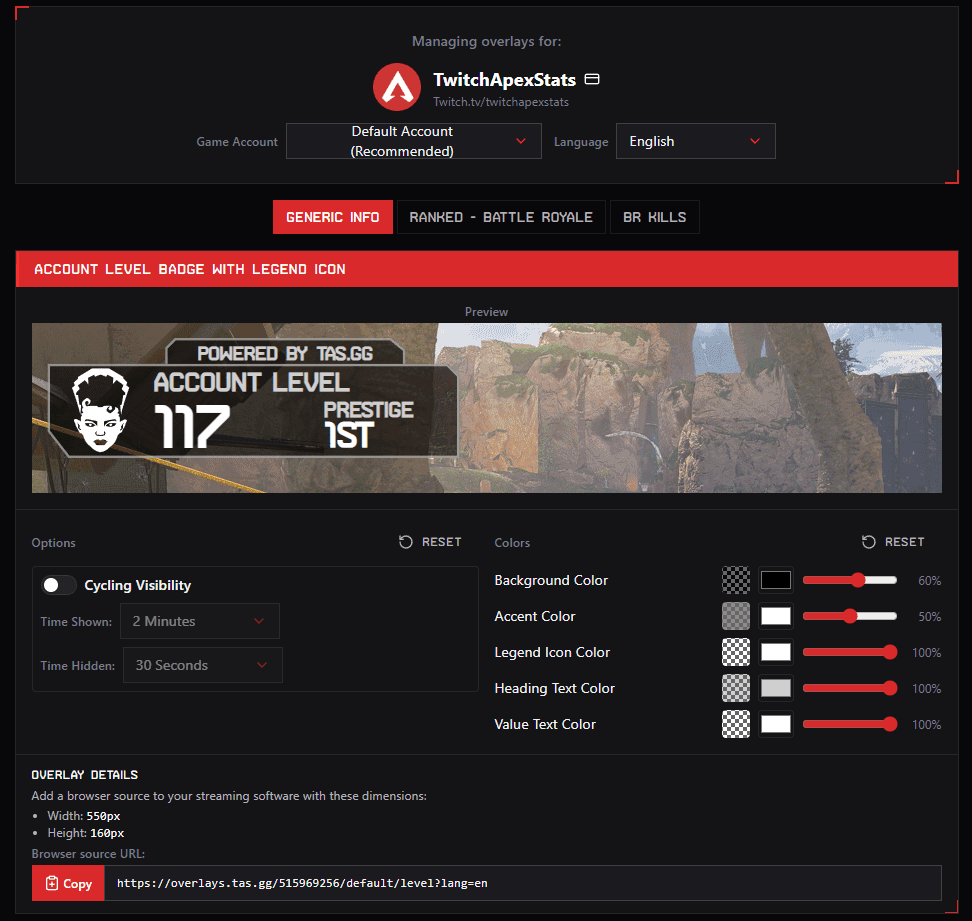
Open Overlays for your channel and choose the one you want. The tabs across the top group them by type, and each overlay has its own options and colors with a live preview.
At the bottom of each overlay you'll find Overlay Details — the width, the height, and the Browser source URL with a Copy button. That's everything you need for the next steps.
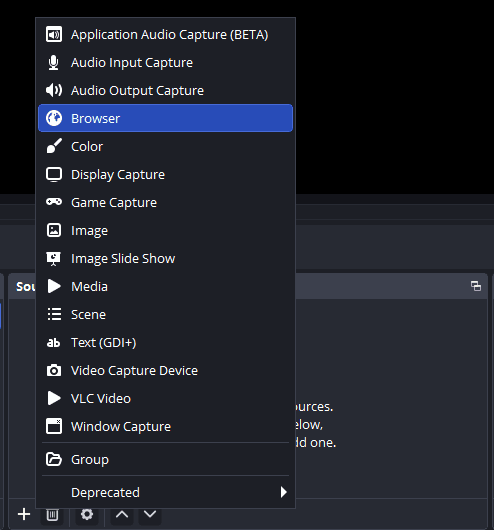
2. Add a browser source in OBS
In the Sources panel, click + and choose Browser.
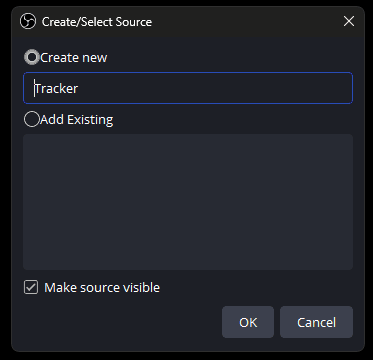
3. Give it a name
Leave Create new selected, give the source a name you'll recognise later, and click OK.
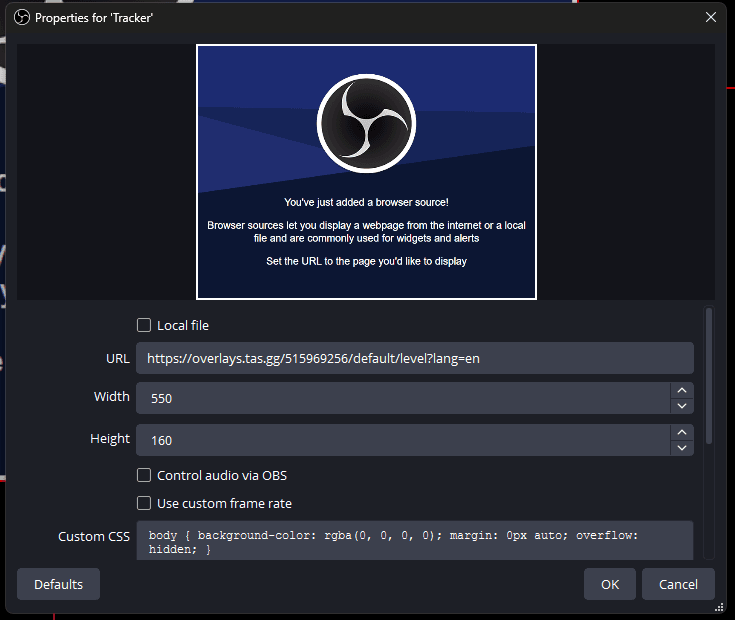
4. Paste in the URL and dimensions
In the properties window that opens:
- Paste the Browser source URL you copied from the dashboard into URL.
- Set Width and Height to the numbers shown under Overlay Details.
- Leave everything else as it is, then click OK.
That's it
The overlay should appear on your canvas, and it'll keep itself up to date while you play. Drag it where you want it and you're done.
If something doesn't look right
- The source is blank. Double-check the URL pasted in full, then open the source's properties and use Refresh cache of current page.
- The change value shows
????. That's a session, not the overlay — see Your overlay isn't tracking RP changes. - Stats are for the wrong player. The overlay follows the game account you picked in the dashboard, so check that dropdown and re-copy the URL if you change it.
Still stuck? Ask in the Discord server with your Twitch channel name and which overlay you're adding.